How to Set Up an Ergonomic Workstation?

To set up an ergonomic workstation, adjust your chair, monitor, keyboard, and mouse to support a neutral posture. This means aligning your body in a way that minimizes strain and promotes comfort while you work. Many experts say a few simple tweaks can make a big difference.
An ergonomic setup helps prevent pain and discomfort often linked to long hours at a desk. It focuses on how your body interacts with your workspace. We found that even small changes can significantly improve your well-being and productivity.
- Achieve a neutral body posture.
- Reduce strain on your neck and back.
- Adjust your monitor to eye level.
- Position your keyboard and mouse comfortably.
- Prevent common work-related discomfort.
Let’s walk through exactly how to set up your workstation for maximum comfort and efficiency, step by step.
Your Blueprint for an Ergonomic Workspace
Setting up your workspace correctly is an investment in your long-term health. We’ll guide you through each element, ensuring your setup supports a healthy posture and reduces strain. It’s about making your environment work for you, not against you.
Start with Your Foundation: The Ergonomic Chair
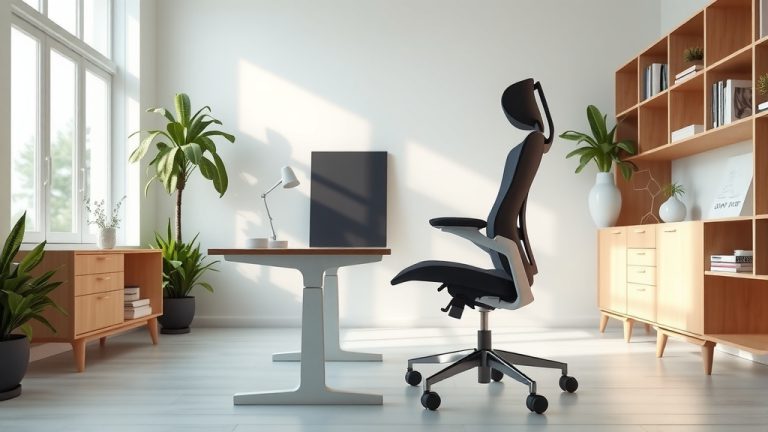
Your chair is the most critical piece of your ergonomic puzzle. Think of it as the anchor for your entire setup. A good ergonomic chair supports the natural curves of your spine.
Choosing the Right Chair
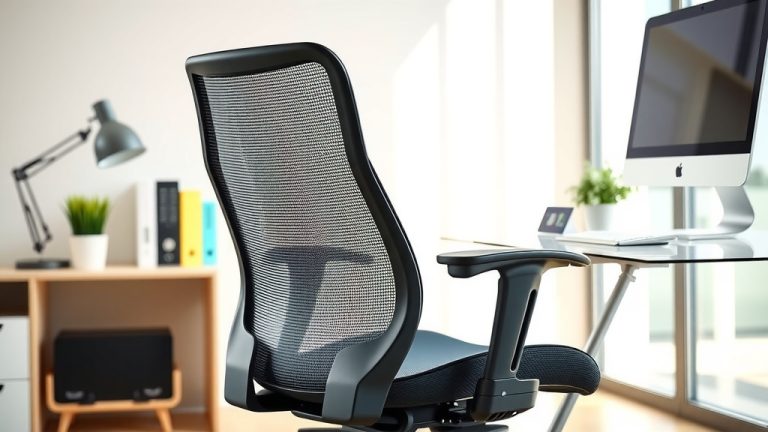
When selecting a chair, look for adjustability. Can you modify the seat height, backrest, and armrests? These features are key to finding your personal comfort zone.
- Seat Height: Adjust so your feet are flat on the floor or a footrest. Your knees should be at about a 90-degree angle.
- Backrest: It should support the natural curve of your lower back. Many chairs offer lumbar support adjustments.
- Armrests: Set them so your arms gently rest, keeping your shoulders relaxed. They shouldn’t force your shoulders up.
- Seat Depth: There should be a gap of about two to four fingers between the edge of your seat and the back of your knees. This prevents pressure on your circulation.
Chair Adjustment Checklist
Once you have your chair, it’s time to fine-tune it. We found that even a few small tweaks can make a big difference.
- Sit tall, pushing your hips as far back as they can go in the chair.
- Adjust the seat height so your feet are flat on the floor. If they can’t reach, use a footrest.
- Recline the backrest slightly, then adjust the lumbar support to fit the curve of your lower back.
- Position your armrests so your shoulders are relaxed, and your elbows are close to your body.
Optimizing Your Monitor Placement
Where you place your monitor dramatically affects your neck and eye comfort. Straining to see or constantly craning your neck can lead to discomfort.
The Ideal Monitor Position
Your monitor should be directly in front of you, not off to one side. This prevents twisting your neck throughout the day.
- Eye Level: The top of your screen should be at or slightly below eye level. This encourages a slight downward gaze, which is more comfortable for your neck (Mayo Clinic).
- Arm’s Length: Position the monitor about an arm’s length away from you. You shouldn’t have to lean forward to read it.
- Glare Reduction: Avoid placing your monitor directly in front of or behind a window. Glare causes eye strain. Adjust blinds or move your monitor if needed.
Using Monitor Risers and Stands
If your monitor isn’t adjustable enough, a monitor riser or stand can help. Books can even work in a pinch! The goal is to get that screen to the right height.
Keyboard and Mouse: Hand and Wrist Harmony
Your keyboard and mouse are your most frequent interaction points. Poor positioning here can lead to wrist pain or even more serious issues like carpal tunnel syndrome.
Keyboard Best Practices
The key is to keep your wrists straight and neutral. Imagine you’re holding a glass of water without spilling it.
- Flat Keyboard: Avoid using the little flip-out feet on your keyboard that tilt it upwards. A flat or slightly negative tilt is better for your wrists.
- Close to Body: Keep your keyboard close to your body. You shouldn’t have to reach for it.
- Wrist Rests: A wrist rest can be helpful, but remember it’s for resting during breaks, not for typing on. Your wrists should float above the keyboard while you type.
Mouse Ergonomics
Your mouse should feel like an extension of your hand. Look for a mouse that fits your hand size comfortably.
- Close to Keyboard: Keep your mouse as close to your keyboard as possible. This minimizes reaching.
- Relaxed Grip: Don’t grip your mouse too tightly. A relaxed grip is crucial.
- Alternative Mouse Options: If you experience discomfort, consider an ergonomic mouse, trackball, or vertical mouse. We found these can significantly reduce wrist strain for many users.
Setting Up Your Desk and Workspace Layout
Beyond your chair and monitor, the overall layout of your desk plays a big role. It’s about creating an efficient and strain-free environment.
Clear Your Clutter
A cluttered desk can lead to awkward postures as you reach around items. Keep frequently used items within easy reach.
- Within Arm’s Reach: Place your phone, notepad, and other essentials within a comfortable arm’s reach.
- Avoid Twisting: Try to minimize reaching or twisting your body to grab things. Everything important should be right there.
Lighting Your Workspace
Good lighting prevents eye strain and headaches. It’s often overlooked but incredibly important.
- Ambiant Light: Ensure your room has adequate overall lighting.
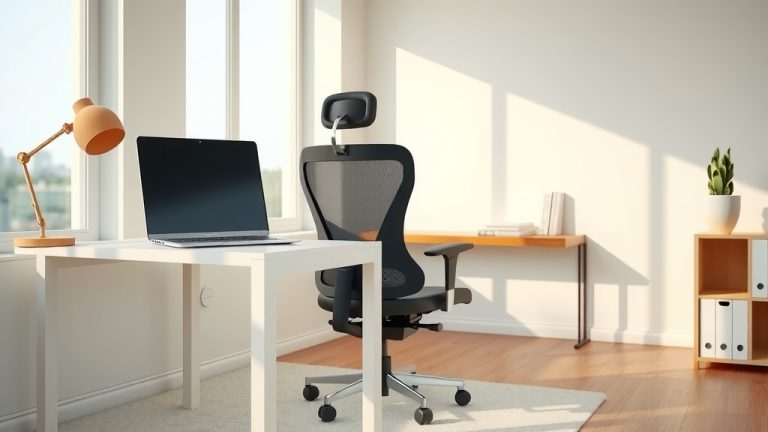
- Task Lighting: A desk lamp can provide focused light on your documents without creating glare on your screen.
- Minimize Glare: Position lights to avoid reflections on your monitor.
Incorporating Movement and Breaks
Even with a perfect ergonomic setup, sitting for long periods isn’t ideal. Movement is essential for preventing stiffness and promoting circulation.
The Power of Micro-Breaks
Regular short breaks are more effective than one long break. Think of them as tiny resets for your body.
- Every 30 Minutes: Stand up, stretch, or walk for a minute or two every half hour.
- Eye Breaks: Look away from your screen every 20 minutes for 20 seconds at something 20 feet away (the 20-20-20 rule). This helps reduce eye fatigue.
Standing Desks and Active Workstations
Consider a sit-stand desk if you have the option. Alternating between sitting and standing can significantly improve your well-being. We found that even just standing for a portion of the day makes a difference (CDC).
Your Ergonomic Workstation Checklist
Use this quick checklist to ensure your setup is supporting you throughout your workday.
- Are your feet flat on the floor or a footrest?
- Are your knees at roughly a 90-degree angle?
- Is your lower back supported by your chair?
- Is the top of your monitor at or slightly below eye level?
- Is your keyboard positioned to keep your wrists straight and relaxed?
- Is your mouse close to your keyboard and comfortable to use?
Common Ergonomic Mistakes to Avoid
Sometimes, what seems helpful can actually create new problems. Let’s look at a few pitfalls.
Slouching and Leaning
Even with an adjustable chair, you need to use it correctly. Don’t slouch or lean forward. Let the chair support you.
Ignoring Discomfort
If something hurts, listen to your body. Don’t just “power through” pain. Adjust your setup or take a break. Persistent discomfort is your body’s way of telling you something isn’t right.
By following these guidelines, you’re not just setting up a desk; you’re creating a healthier, more comfortable environment. Your body will thank you!

Conclusion
You’ve now got a solid understanding of how to build an ergonomic workstation. We’ve walked through adjusting your chair, optimizing your monitor, and fine-tuning your keyboard and mouse. Remember, it’s about creating a setup that supports your body, not fighting against it.
By implementing these adjustments, you’ll reduce strain and boost your comfort. Your well-being at work is important. Take these steps today to transform your workspace into a healthier, more productive environment. Your body will thank you for it.
Frequently Asked Questions
What if I can’t afford an expensive ergonomic chair?
You don’t always need to buy a high-end chair. Focus on adjustability with your current chair. Use pillows or rolled towels for lumbar support, and ensure your feet are flat with a footrest if needed. Small changes can make a big difference.
How often should I take breaks from my computer?
Aim for micro-breaks every 30 minutes. Stand up, stretch, or walk for a minute or two. We found that short, frequent breaks are more beneficial than fewer, longer ones for preventing stiffness and fatigue.
My wrists hurt when I type. What should I do?
First, ensure your wrists are straight and neutral. Avoid bending them up or down. Make sure your keyboard is flat and close to your body. Consider an ergonomic keyboard or mouse if the pain persists, as these can reduce strain.
Can a laptop be used ergonomically?
Using a laptop ergonomically can be tricky but is possible. We recommend using an external monitor, keyboard, and mouse. This allows you to position the screen at eye level and keep your wrists neutral, just like with a desktop setup.
What’s the best lighting for an ergonomic workstation?
Good lighting prevents eye strain. Use a combination of ambient room lighting and a task lamp. Position lights to avoid glare on your screen. You want enough light to see comfortably without creating harsh reflections or shadows.