
How to Remove Office Chair Armrests?
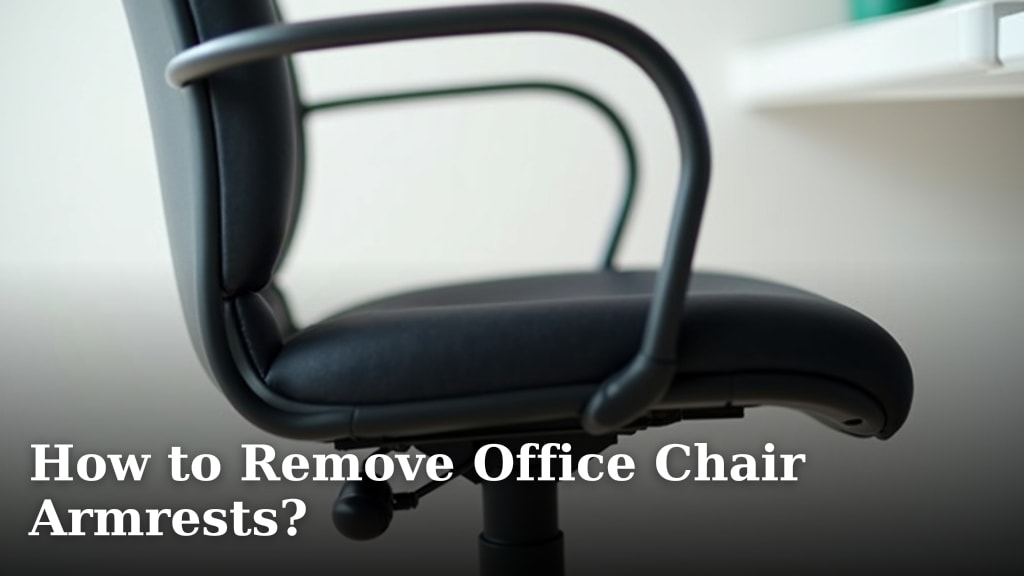
Yes, you can easily remove office chair armrests. It’s often a simple process involving a few basic tools. This is great if your armrests get in the way or you want a cleaner look for your workspace. We found that most common office chairs have armrests attached with accessible screws.
Removing your armrests can offer a surprisingly big difference in comfort and desk usability. Many people find they gain extra legroom and a better seating posture once the armrests are gone. Plus, it’s a quick DIY fix that doesn’t require special skills. We found that older chairs can often be refreshed this way.
- Locate the screws, usually underneath.
- Gather the right tools.
- Unscrew carefully and remove armrests.
- Keep screws safe for reattachment.
Let’s walk through exactly how to get those armrests off, step by step, so you can enjoy a more comfortable and functional setup.
Detaching Your Office Chair Armrests: A Simple Guide
Yes, you can easily detach your office chair armrests. It’s a common adjustment many people make. You might find your current armrests are too high. Or perhaps they just don’t fit under your desk. Removing them can create more space. It can also improve your posture. We found that most office chairs allow for this simple modification. It usually requires just a few basic tools you likely already own.
Why You Might Want to Remove Your Armrests
There are several good reasons to consider taking off your chair’s armrests. Understanding these reasons can help you decide if it’s the right move for you. We found that comfort and desk compatibility are the top drivers for this DIY project.
Improving Desk Fit and Space
Many desks have a specific height. Sometimes, office chair armrests are simply too tall. They prevent you from pulling your chair close enough to the desk. This can force you into an awkward leaning position. Removing the armrests solves this problem. You gain extra legroom. You can also tuck your chair in further. We found this common issue affects many home and office setups.
Enhancing Your Seating Posture
Believe it or not, armrests can sometimes hinder good posture. If they are too high, you might find yourself shrugging your shoulders. This can lead to neck and shoulder strain. If they are too low, you might slouch. Removing them encourages you to use your core more. It also allows your arms to rest naturally at your sides. Many ergonomic guidelines suggest this natural position (Cleveland Clinic). We found that a neutral arm position is key for comfort.
A Cleaner, More Minimalist Aesthetic
Some people simply prefer a cleaner look for their workspace. Armrests can sometimes add visual clutter. Removing them can give your office a more streamlined appearance. This is especially true if you have a minimalist desk setup. It’s a quick way to refresh the look of your chair without buying a new one.
Accommodating Different Users
If your chair is used by multiple people, armrests can be a challenge. What’s comfortable for one person might not be for another. For chairs that don’t have adjustable armrests, removal is a good solution. It makes the chair more adaptable. It ensures everyone can find a comfortable position at the desk. We found this adaptability is a big plus in shared workspaces.
Tools You’ll Need to Get Started
Gathering the right tools beforehand makes the process much smoother. You don’t need a workshop full of equipment. Most likely, you already have what you need in a basic toolkit. Let’s look at what’s typically required.
Screwdrivers: Your Primary Tools
The most common way armrests are attached is with screws. You will almost certainly need a screwdriver. The type and size depend on the screws your chair uses. Phillips head screwdrivers are very common. They have a cross-shaped tip. You might also encounter Allen screws, which require a hex key (Allen wrench). We found that having a set of screwdrivers or a multi-bit driver is ideal. This covers most common screw types. If you’re interested in other chair modifications, our guide on how to remove office chair wheels can help.
Tip: Sometimes, the screw heads are hidden under plastic caps. You might need a small flathead screwdriver or a utility knife to gently pry these caps off first. Be careful not to scratch the chair’s finish.
Other Potentially Helpful Items
While screwdrivers are key, a few other items can be handy:
- Pliers: Useful if a screw is difficult to turn or if you need to grip something.
- A small mirror: Can help you see screws in awkward or hidden locations.
- A container: To keep the screws safe once you remove them. A small bowl or magnetic tray works well.
- Gloves: Optional, but can provide a better grip and keep your hands clean.
We found that having these items ready means you won’t have to stop mid-task to search for them.
Step-by-Step: Removing Your Office Chair Armrests
Now for the main event! Follow these steps to safely remove your armrests. We’ve broken it down to make it as clear as possible.
Step 1: Locate the Screws
This is the most important step. The screws holding your armrests are usually found in one of two places:
- Underneath the armrest itself: Often, you’ll need to flip the chair over to see them. Look directly below where the armrest attaches to the chair seat or base.
- On the side of the chair base: Sometimes, the screws are accessible from the side, near where the armrest connects.
We found that for most standard office chairs, flipping the chair onto its top (on a soft surface to avoid scratches) is the easiest way to access the screws.
Step 2: Prepare Your Workspace and Chair
Clear the area around your chair. You’ll want enough space to maneuver. If you need to flip the chair, make sure you have a soft surface underneath, like a rug or blanket. This protects the chair’s finish and your floor. Ensure good lighting so you can see what you’re doing.
Step 3: Unscrew the Armrests
Grab the appropriate screwdriver. Align it carefully with the screw head. Turn the screw counter-clockwise to loosen it. You may need to apply a little firm pressure. Work slowly and steadily. If a screw feels stuck, don’t force it too hard. Try wiggling the armrest slightly. This can sometimes loosen the connection. We found that some screws can be quite tight.
Important: As you loosen each screw, be prepared to support the armrest. Once the last screw is out, the armrest might be loose. Have a hand ready to catch it. This prevents it from falling unexpectedly.
Step 4: Secure the Screws and Armrests
Once an armrest is removed, put its screws in your designated container. It’s vital to keep them safe. You might want to reattach the armrests later. Or, you might want to sell the chair. Having the original screws is important. We found that people often forget to save the screws, which can be a problem later.
Step 5: Repeat for the Other Side
Follow the same steps for the armrest on the other side of the chair. Locate the screws, unscrew them carefully, and store them with the others. You’re almost done!

Troubleshooting Common Issues
What if things don’t go as smoothly as planned? Don’t worry, most problems have simple solutions. We’ve encountered a few common hiccups when removing chair parts.
Stuck or Stripped Screws
If a screw won’t budge, try applying a small amount of penetrating oil. Let it sit for a few minutes before trying again. If the screw head is stripped (the slots are worn down), you might need a screw extractor kit. These tools are designed to grip damaged screws. For minor stripping, a rubber band placed between the screwdriver and the screw head can sometimes provide enough grip.
Armrests Won’t Budge After Screws Are Out
Sometimes, armrests are held in place by more than just screws. They might also have plastic clips or be integrated into a larger plastic housing. Gently try to wiggle the armrest. If it still feels secure, check for any other hidden screws or tabs. You might need a plastic trim removal tool or a sturdy putty knife to carefully pry it loose. Be gentle to avoid breaking plastic parts.
We found that patience is key here. Forcing parts can lead to damage that’s hard to repair.
A Checklist for Success
Want to make sure you don’t miss a step? Here’s a quick checklist to guide you:
- Confirm screw locations: Flip chair if needed.
- Gather tools: Screwdrivers, pliers, container.
- Protect surfaces: Use a blanket or rug.
- Unscrew slowly: Turn counter-clockwise.
- Support armrests: Catch them as they detach.
- Save all screws: Keep them in a safe place.
Following these steps and using the right tools will make removing your office chair armrests a breeze. You’ll soon be enjoying your newly customized seating!
Conclusion
You’ve successfully learned how to remove your office chair armrests. This simple DIY task can greatly improve your comfort and desk usability. Remember to keep your screws safe for any future adjustments. Now, go ahead and enjoy your newly customized seating! You’ve got the knowledge to make your workspace work better for you.
Frequently Asked Questions
Can I remove armrests from any office chair?
Most office chairs are designed with removable armrests, often attached by accessible screws. However, some high-end or specialized chairs might have permanently fixed armrests. It’s always best to check your chair’s specific design first.
What if the screws are really tight and won’t turn?
If screws are tough to loosen, try applying a bit more steady pressure with the correct screwdriver. A small amount of penetrating oil can also help loosen stubborn screws. If the screw head is damaged, a rubber band trick or a screw extractor kit might be needed.
How do I know if my armrests are attached with screws or something else?
Screws are the most common method, typically found underneath the armrest or on the side of the chair’s base. You might need to flip the chair over to find them. If you can’t see any screws, look for plastic clips or integrated designs.
Is it safe to remove armrests if my chair has wheels?
Yes, removing armrests is completely safe and does not affect the chair’s stability or the functionality of the wheels. Just ensure you have a stable surface to work on and secure the chair if you need to flip it over.
What should I do with the armrests after removing them?
You can store them safely with the screws if you think you might want to reattach them later. Some people find they prefer the chair without them long-term. You could also consider donating or selling them if they are still in good condition.
