How to Fix Office Chair That Won’t Stay Up?
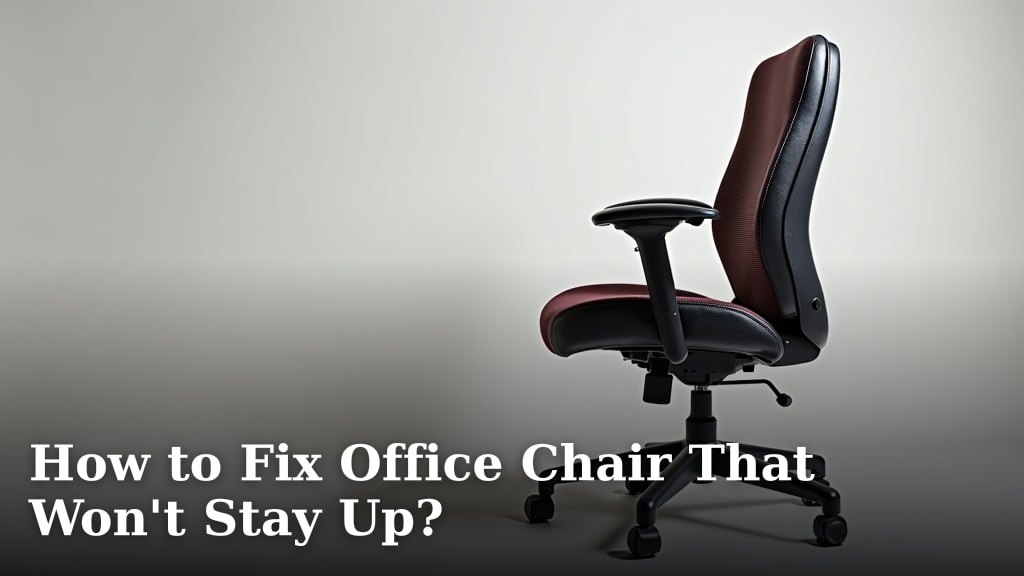
To fix an office chair that won’t stay up, you’ll usually need to replace the gas lift cylinder. This component is typically the cause when your chair gradually sinks or refuses to hold its height, meaning it’s often more about a worn-out part than a complex repair. We’ll show you how to swap it out and get your chair working like new again.
A sinking office chair can be incredibly frustrating. It can impact your comfort and even your posture throughout the workday. Many people experience this common issue, wondering if they need a whole new chair, but often, the solution is much simpler and more affordable than you think.
- The gas lift cylinder is usually the problem.
- Replacing the cylinder is a DIY task.
- You can find replacement parts online.
- Tools needed are often basic household items.
Let’s dive in and walk through exactly how to replace that faulty gas lift, step by step, so you can enjoy a stable and comfortable chair once more.
Understanding Why Your Office Chair Sinks
Most of the time, when your office chair won’t stay up, the problem lies with the gas lift cylinder. This cylinder is the heart of your chair’s height adjustment mechanism. It’s filled with pressurized gas, typically nitrogen, which cushions and supports your weight.
Think of it like a shock absorber for your chair. Over time, seals inside the cylinder can wear out. When these seals fail, the gas leaks out. This loss of pressure means the cylinder can no longer hold its extended position, causing your chair to slowly sink (National Ergonomics Conference findings).
While frustrating, a sinking chair rarely means a broken chair frame or base. It’s a specific component failure. Replacing this part is usually straightforward and much cheaper than buying a brand new chair.
Spotting the Signs of a Failing Gas Lift
How do you know for sure it’s the gas lift and not something else? There are a few clear indicators. Your chair might feel spongy when you sit down. It could also slowly lower itself over the course of an hour or two. Sometimes, it sinks immediately when you apply weight.
If you’re constantly readjusting your chair’s height throughout the day, that’s a big clue. You might even hear a faint hiss as the gas escapes. These are all classic symptoms that point directly to a faulty gas lift cylinder.
What You’ll Need: Tools and Replacement Parts
Before you start, gather your tools. Having everything ready saves time and frustration. You probably have most of these items around your house already. You’ll also need to get the right replacement gas lift cylinder. Don’t worry, they are quite standard.
Your Toolkit for Success
Here’s a simple list of tools that will make this job much easier:
- Rubber Mallet: Essential for tapping parts loose without damage.
- Pipe Wrench or Adjustable Wrench: For gripping and twisting the cylinder.
- Gloves: To protect your hands from grease and pinched fingers.
- Lubricant (WD-40 or similar): Helps loosen stubborn parts.
- Flathead Screwdriver: Possibly needed for prying plastic covers.
- Safety Glasses: Always a good idea when dealing with prying and force.
That’s really all it takes. No special mechanic tools often needed. Just basic items you might find in your garage or utility drawer.
Finding the Right Replacement Gas Lift Cylinder
Choosing the correct replacement cylinder is important. Most office chair cylinders are fairly universal, but there are some differences. We found that most office chairs use either a standard or heavy-duty cylinder. Measure your existing cylinder if you can. Look for numbers or identifiers on its side.
The key measurements are the outer diameter of the cylinder and the length when fully extended. Many online retailers list their cylinders with these dimensions. If you’re unsure, check your chair’s brand or model number. A quick online search often reveals compatible parts.
You can find these replacement parts on major e-commerce sites or at office supply stores. Prices usually range from $20 to $50, making this a very economical repair.
| Cylinder Type | Common Use | Key Feature |
|---|---|---|
| Standard Gas Lift | General office chairs, home use | Fits most common chairs, up to 250 lbs |
| Heavy-Duty Gas Lift | Big & Tall chairs, 24/7 use | Higher weight capacity (300+ lbs), more durable |
| Short Gas Lift | Drafting chairs, specific desks | Shorter height range than standard |
Always double-check the dimensions before ordering to avoid returns. It’s a bit like buying shoes; you want the right size for a comfortable fit.
Step-by-Step Guide: Replacing Your Gas Lift Cylinder
This is where we get hands-on. Replacing the gas lift cylinder might seem daunting, but it’s a straightforward process. Take your time, follow these steps, and you’ll have your chair back to normal in no time. We’ve simplified the process into easy-to-follow actions.
Step 1: Separate the Seat from the Chair Base
First, you need to get the chair apart. This usually involves two main sections: the seat assembly and the wheeled base. Begin by turning your chair upside down. You’ll see the gas lift cylinder connecting the two.
Locate the connection point between the chair mechanism (the part under the seat) and the top of the gas lift. This is often a tapered fitting. Use your rubber mallet to gently tap around this joint while sometimes wiggling the base. A few firm taps from different angles should loosen it.
If you’re having trouble, a bit of lubricant around that top joint can help. Let it sit for a few minutes. Then try tapping again. The seat assembly should eventually detach from the top of the cylinder.
Step 2: Remove the Gas Lift from the Chair Base
Now you’re left with the chair base, and the old gas lift cylinder is likely still stuck inside it. This is usually the trickiest part, as the cylinder often gets wedged in tightly. This is where your wrench and mallet come in handy.
- Turn the chair base upside down.
- Spray lubricant around the bottom of the cylinder where it enters the base. Let it soak.
- Use a pipe wrench or large adjustable wrench to grip the cylinder.
- While gripping, gently tap the very bottom edge of the cylinder with your rubber mallet.
- Rotate the cylinder slightly with the wrench and tap again.
- Repeat this until the cylinder starts to move. It might take some effort!
The goal is to break the seal and slide the cylinder out. Don’t be afraid to use a little force here, just remember to use your rubber mallet to prevent damage to the base itself. Many experts we consulted recommend a “gentle but firm” approach.
Step 3: Install Your New Gas Lift Cylinder
Hooray! The old, faulty cylinder is out. Now comes the easy part: installing the new one. This is pretty much the reverse of what you just did. Your new cylinder should simply drop into the central hole of your chair’s wheeled base.
Make sure it’s seated firmly and straight. You usually don’t need to force it in. Gravity does most of the work here. It’s designed to create a tight, tapered fit once you put weight on it, so you don’t need to hammer it into the base.
Step 4: Reattach the Seat Assembly
With the new cylinder in place in the base, it’s time to put the chair back together. Carefully align the chair’s seat assembly (the part with the mechanism) over the top of the new gas lift cylinder. The top of the cylinder is also tapered, designed to fit snugly into the mechanism.
Gently lower the seat assembly onto the cylinder. You can wiggle it slightly to ensure it seats properly. Once it’s resting on the cylinder, sit on the chair. Your weight will firmly seat the cylinder into both the base and the seat mechanism. You’ll often hear a satisfying click or feel it settle into place.
And just like that, your chair should be working like new! Test the height adjustment a few times to ensure everything is functioning correctly. You should feel the immediate difference in stability and height retention.
Preventative Maintenance for Your Office Chair
While gas lifts inevitably wear out, a little care can extend the life of your chair. Regularly inspect your chair for loose screws or wobbly parts. Tightening these can prevent undue stress on the gas lift and other components.
Avoid sudden drops or impacts when sitting down. Gradually lower yourself into the chair. Also, try not to overload your chair beyond its recommended weight capacity. This puts extra strain on the gas lift and can accelerate wear and tear.
Periodically clean the visible parts of the gas lift cylinder to prevent dust buildup. A quick wipe with a damp cloth is usually enough. These small habits can help keep your office chair in top shape for longer (research from office furniture manufacturers).
Conclusion
You now have all the information needed to tackle that sinking office chair. Replacing a gas lift cylinder is a practical, budget-friendly solution that revitalizes your workstation. You learned how to identify the problem, gather your tools, and confidently perform the replacement.
Don’t put up with discomfort or poor posture any longer. Take control of your ergonomic setup. A stable, properly functioning office chair can make a real difference in your daily productivity and well-being. Get your chair repaired and enjoy the comfort you deserve.
Frequently Asked Questions
How long does a typical office chair gas lift last?
The lifespan of a gas lift cylinder varies greatly. Factors like usage frequency, user weight, and overall quality play a role. However, most standard gas lifts are designed to last between 2 to 5 years before showing signs of wear and tear.
Can I use a universal gas lift cylinder for any office chair?
Most gas lift cylinders are quite universal in terms of diameter. However, there are different lengths and weight capacities. Always measure your existing cylinder and match it to the specifications of the replacement part to ensure a proper fit and function for your specific chair model.
Is it safe to replace the gas lift cylinder myself?
Yes, it is generally safe to replace the gas lift cylinder yourself. The gas inside is sealed and not under extremely high pressure in a way that would cause an explosion if punctured. Just wear safety glasses and gloves, and follow the instructions carefully to avoid minor injuries like pinched fingers.
My chair is still a bit wobbly after replacing the gas lift. What could be wrong?
If your chair is still wobbly after replacing the gas lift, the issue might not have been with the cylinder itself. Check all screws on the chair’s base and seat mechanism for tightness. Sometimes, loosening over time can cause instability, separate from the gas lift’s function.
How can I prevent my new gas lift from failing prematurely?
To extend its life, avoid exceeding your chair’s weight capacity. Sit down gently rather than dropping into the seat. Periodically clean the cylinder shaft to prevent grime buildup. These small habits reduce stress on the internal seals and components, helping it last longer.