How to Replace Office Chair Gas Cylinder?
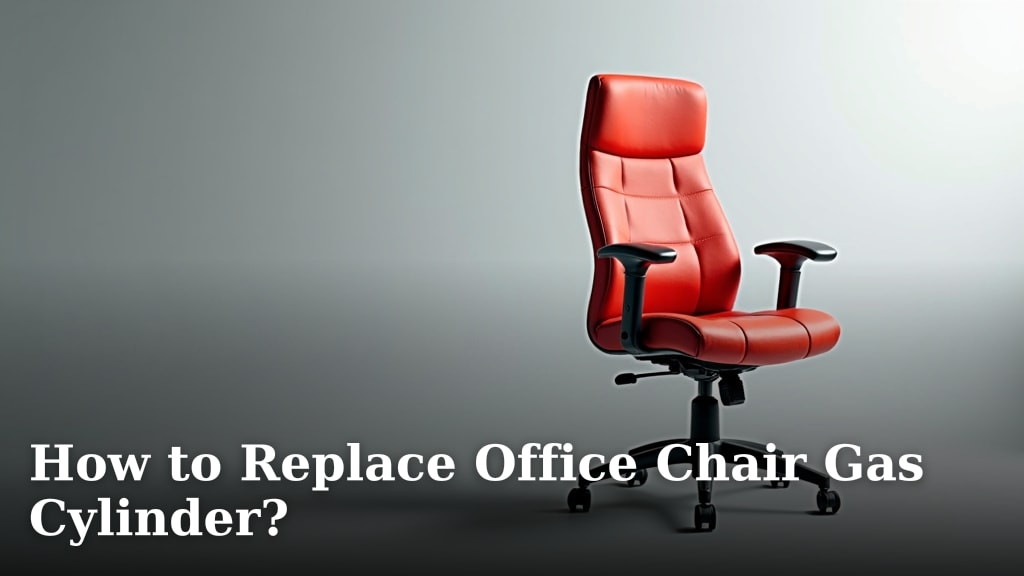
To replace an office chair gas cylinder, you will need a few common tools, such as a rubber mallet, a pipe wrench, and some lubricant. This allows you to quickly swap out the old cylinder for a new one, restoring your chair’s height adjustment and stability. You can easily fix your chair yourself with the right steps.
A failing gas cylinder is a common issue, causing your chair to sink or feel wobbly. It’s often due to wear and tear over time. Many people find replacing the gas lift cylinder to be a more cost-effective solution than buying an entirely new chair. We found that this repair is quite manageable for most.
- Gather necessary tools: mallet, wrench, lubricant.
- Carefully remove the old gas cylinder.
- Install the new cylinder securely.
- Test your chair’s height adjustment.
You might be surprised how simple it is to get your favorite office chair feeling brand new again. Let’s walk through exactly how to replace the office chair gas cylinder, step by step.
Getting Ready for Your Office Chair Gas Spring Replacement
Before you dive into replacing your office chair’s gas cylinder, you’ll want to gather all the necessary tools. Having everything at hand will make the process much smoother and prevent pauses in your work. We want you to feel prepared and confident.
Tools You’ll Need
You probably have most of these items around your house already. Don’t worry if you don’t; they’re generally inexpensive and easy to find at any hardware store.
- Rubber Mallet: This is essential for gently tapping parts loose without causing damage.
- Pipe Wrench or Adjustable Wrench: You’ll use this to get a good grip on the cylinder.
- Penetrating Lubricant (e.g., WD-40): A little spray can work wonders on stubborn connections.
- Flathead Screwdriver: Handy for prying up covers or caps.
- Gloves: Protect your hands from grime and potential pinches.
- Safety Glasses: Always a good idea when dealing with spring-loaded parts or forceful removal.
- Work Surface: A sturdy table or the floor, protected with a drop cloth or old towels.
Safety First: A Quick Checklist
Your safety is important. Taking a moment to review these points can prevent minor frustrations or even injuries. Think of it like a pilot’s pre-flight check!
- Wear your safety glasses to protect your eyes.
- Use gloves to prevent cuts and keep your hands clean.
- Clear your workspace to avoid tripping or knocking things over.
- Work on a stable, level surface.
- Read all instructions for your new gas cylinder before installing it.
Disassembling Your Chair: Removing the Old Cylinder
This is where the real work begins! Don’t be intimidated; we’ll walk through each step. Sometimes the cylinder can be a bit stuck, but with the right technique, it will come out.
Separating the Base from the Seat
The first step is often the easiest. You need to get the chair’s components into more manageable pieces. We’re essentially taking your chair apart in two main sections.
Step-by-Step Detachment
Most office chairs connect the seat and the base with the gas cylinder. You’ll usually start by flipping the chair over.
- Flip your chair upside down so the wheels are facing the ceiling. Place it on your protected work surface.
- Locate the large bolt or screws that attach the chair mechanism (the part with the levers) to the seat plate. Some chairs might have a single central bolt, while others have four corner screws.
- Carefully remove these bolts or screws using the appropriate wrench or screwdriver. Keep them in a safe place, like a small cup, so they don’t get lost.
- Once the bolts are removed, gently lift the base and gas cylinder assembly off the seat. You should now have two main pieces: the seat with its mechanism, and the wheeled base with the gas cylinder still attached.
Removing the Stubborn Gas Cylinder from the Base
This is often the trickiest part because the cylinder can get wedged in pretty tightly over time. It’s like trying to get a tightly-fitting cork out of a bottle. Patience and gentle force are key here.
Working on the Star Base
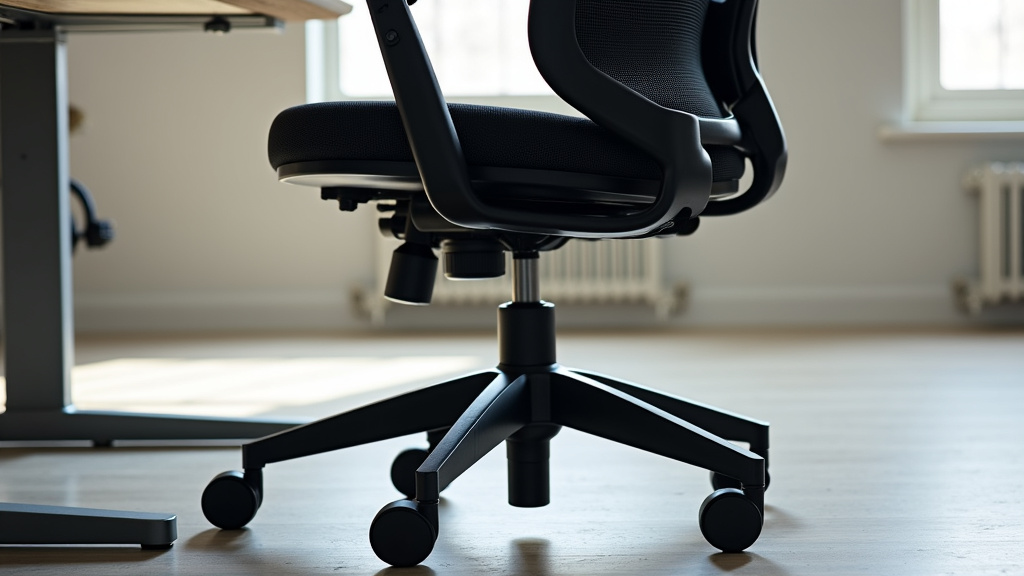
The star base is the wheeled part of your chair. The gas cylinder sits directly in the center column. It’s usually a tapered fit, meaning it gets tighter the more weight is put on it.
- With the wheeled base separated, turn it right side up so the wheels are on the floor.
- Liberally spray the penetrating lubricant around the top of the gas cylinder where it meets the chair’s mechanism. Also spray around the bottom where it enters the star base. Let it sit for 5-10 minutes. This gives the lubricant time to work into the tight spaces.
- Now, locate the bottom of the gas cylinder where it fits into the star base. You’ll likely see a small lip or collar.
- Using your pipe wrench, grip the gas cylinder firmly near the bottom, just above the star base.
- With your other hand, hold the star base still. Give the handle of the pipe wrench a few sharp, counter-clockwise twists to try and break the seal. Don’t go crazy with the force; often, it’s a sudden jolt, not sustained twisting, that does the trick.
- If twisting doesn’t work right away, try using your rubber mallet. Tap firmly and repeatedly around the top edge of the star base’s center column, where the gas cylinder enters. Tap evenly around the circumference. The goal is to vibrate the cylinder loose.
- You may also need to tap the top of the cylinder with the rubber mallet (directly on the part that goes into the seat mechanism). Be careful not to hit the release button.
- Once the cylinder starts to move, you can usually wiggle it out. Many people find this part surprisingly gratifying when it finally pops free!
Sometimes, the cylinder can be very stubborn. Research suggests that applying a little heat with a hairdryer can help expand the metal of the star base slightly, making removal easier (e.g., from various DIY forums). Just be careful not to overheat anything.
Preparing for the New Cylinder
With the old cylinder gone, you’re halfway there! Now it’s time to get everything ready for the new one. A clean start ensures a better connection.
Cleaning and Inspecting
Before you put the new cylinder in, take a moment to clean up any residue. This helps ensure a perfect fit.
- Wipe down the inside of the star base’s center column with a cloth. Remove any old grease, dirt, or lubricant.
- Inspect the opening for any burrs or damage. The new cylinder should slide in smoothly.
- Check the seat mechanism for any signs of wear. While you’re here, it’s a good time to make sure everything else looks solid.
Understanding Your New Gas Cylinder
Gas cylinders might look similar, but they have different specifications. You’ll want to make sure your new cylinder matches your needs. We found that most standard office chairs use a universal size, but double-checking is always wise.
| Feature | Description | Why it Matters |
|---|---|---|
| Piston Diameter | Typically 28mm (top) and 50mm (bottom). | Ensures proper fit into chair mechanism and base. |
| Travel Height | How much the cylinder extends/retracts. | Determines chair’s maximum and minimum height. |
| Weight Capacity | Maximum load the cylinder can safely support. | Important for safety and cylinder longevity. |
| Class Rating | Class 2, 3, or 4 for durability (4 is strongest). | Indicates quality and robustness. Class 4 is recommended for continuous use or heavier individuals (BIFMA standards). |
Always refer to the specifications of your old cylinder or new chair if possible to ensure compatibility. A common mistake is buying a cylinder that’s too short or too tall.
Installing Your New Gas Cylinder
This is usually much simpler than removing the old one. It’s a satisfying feeling to see your chair come back together!
Assembling the Components
Just reverse the steps you took during disassembly. It should slide right into place.
- Take your new gas cylinder and gently insert the wider end into the star base. It should fit snugly.
- You might need to give it a slight turn or push to ensure it’s fully seated. No need for aggressive tapping yet.
- Now, take the seat assembly. Line up the hole in the bottom of the chair mechanism with the narrower top end of the gas cylinder.
- Carefully lower the seat onto the gas cylinder. You might hear a “click” or feel it settle into place. This is good! Your own body weight will help secure the fit later.
- Reattach the bolts or screws that connect the chair mechanism to the seat bottom. Tighten them securely, but don’t overtighten.
Final Tests and Adjustments
Before you sit down for a long work session, give your newly reassembled chair a quick once-over. Imagine it as the final inspection on a project you’ve just completed.
- Sit down on the chair. Your weight will help fully seat the gas cylinder into both the base and the seat mechanism.
- Test the height adjustment lever multiple times. Does it go up and down smoothly?
- Check for any wobbling or instability. Everything should feel firm and secure.
- Give the chair a good spin. Make sure the wheels roll freely.
- Confirm all screws are tight and nothing rattles.
Congratulations! You’ve successfully replaced your office chair’s gas cylinder. You’ve not only saved money but also gained a deeper understanding of how your chair works. Enjoy your renewed comfort and stability!
Conclusion
You’ve successfully tackled a common office chair problem! Replacing your gas cylinder is an empowering DIY task. You’ve not only extended your chair’s life but also saved money on a new purchase. We found that a bit of patience and the right tools make this repair surprisingly straightforward.
So, enjoy the renewed comfort and stability of your favorite chair. Keep these steps in mind, and you’ll be well-prepared for any future adjustments or repairs!
Frequently Asked Questions
How long does an office chair gas cylinder typically last?
The lifespan of a gas cylinder can vary widely, often depending on its quality (Class 2, 3, or 4), the user’s weight, and how frequently the chair is adjusted. We found that most last between 2 to 5 years before showing signs of wear like sinking or wobbling.
Can I replace a gas cylinder if it’s completely stuck?
Yes, even very stubborn cylinders can usually be removed with persistence. Applying penetrating lubricant, using a pipe wrench for leverage, and tapping firmly with a rubber mallet are key. Research suggests that gentle heat from a hairdryer can sometimes help expand the metal and loosen the seal.
Are all office chair gas cylinders the same size?
While many office chairs use a standard size for the piston diameter (e.g., 28mm top, 50mm bottom), their travel height and weight capacity can differ. Always check the specifications of your new cylinder to ensure it matches your chair’s needs and your comfort preferences.
Is it worth replacing the gas cylinder, or should I just buy a new chair?
For most quality office chairs, replacing the gas cylinder is a highly cost-effective solution. It can significantly extend the life of your chair for a fraction of the cost of a brand new one. Plus, it’s a manageable DIY project that gives you a useful skill.
What if my new gas cylinder sinks immediately after installation?
If your new cylinder sinks right away, double-check that you’ve removed the plastic shipping cap from the top of the cylinder. This small cap must be taken off for the lift mechanism to function correctly. Also, ensure the cylinder is fully seated into both the chair base and the seat mechanism with your body weight.