How to Fix Office Chair Arm That Keeps Falling?
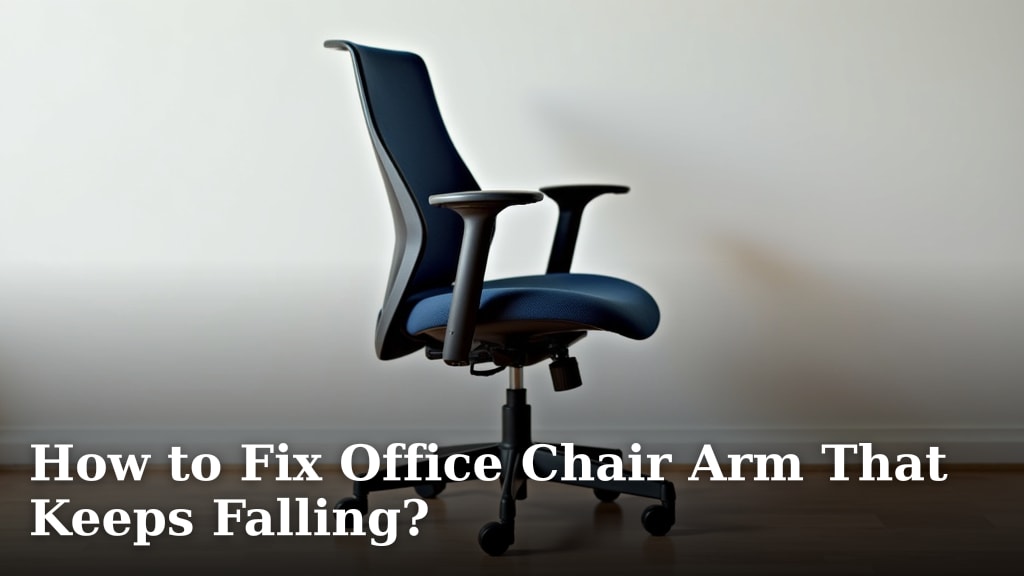
To fix an office chair arm that keeps falling, you will usually need to tighten the bolts that secure the armrest to the chair frame. We found that loose fasteners are the most common cause of this annoying problem.
You’re not alone if your office chair arm gives way unexpectedly. This issue can make your workday frustrating and uncomfortable. Fixing it usually involves some basic tools and a little bit of your time. Don’t worry, it’s often a simple DIY repair.
- Tighten loose screws or bolts.
- Check for worn-out washers.
- Replace stripped screws.
- Inspect internal mechanisms.
- Consider professional help if needed.
Let’s walk through exactly how to diagnose and fix your wobbly office chair arm, step by step.
Restoring Stability to Your Office Chair Arm
You’ve got a loose office chair arm, and it’s disrupting your peace. Let’s fix this together. We often find that a few simple adjustments can bring back the stability you need for comfortable work. You’ll be amazed at how straightforward most of these repairs are.
Gathering Your Tools for the Repair
Before you dive in, grab a few essentials. Having the right tools makes the job much smoother. Think of it like preparing for a cooking project; you wouldn’t start without your ingredients, would you?
Essential Tools You’ll Need
Screwdrivers: You’ll likely need both Phillips head and flathead types. Check your chair’s visible screws to know exactly which ones.
Allen Wrenches (Hex Keys): Many office chairs use these. Often, a set of various sizes is best. If you kept the original assembly tools, they’ll come in handy now.
Adjustable Wrench: For any nuts that might be involved. This is your flexible friend for different sizes.
Flashlight or Headlamp: It can get dark under there. A good light source helps you see all those hidden fasteners.
Gloves: Protect your hands from grime or sharp edges. Safety first, always!
Pillow or Blanket: To protect your floor and your chair if you need to turn it upside down.
Inspecting the Office Chair Arm for the Root Cause
Finding the exact problem is the first step toward a lasting fix. We’ve learned that a close inspection often reveals the simple truth. Don’t just guess; investigate!
Visual Assessment: What Can You See?
Start by looking at the arm. Wiggle it gently. Where does the movement come from? Is it the armrest pad itself, or the column connecting it to the chair? This initial check gives you clues.
Loose Bolts/Screws: Can you see any bolts that look untightened? These are often the culprits. They might be visible on the underside of the arm or where the arm meets the chair seat or back.
Worn Washers: Small metal or plastic rings, called washers, prevent screws from loosening. If these are flattened or cracked, they lose their effectiveness. We find this happens over time with daily use.
Cracked Components: Is there a crack in the plastic or metal of the armrest? This indicates a more serious issue than just loose fasteners.
Stripped Screw Holes: Sometimes, the screw itself is fine, but the hole it goes into is damaged. This prevents the screw from gripping properly.
Feeling for Play: Where’s the Wobble?
Grip the armrest firmly and try to move it in all directions – up, down, side to side, and twisting. Does it feel like it’s rotating or just sliding? Pinpointing the exact point of movement helps you focus your repair efforts. It’s like finding a loose tooth in a gear – you know where to apply the pressure.
Step-by-Step Guide to Tightening Loose Armrests
Most of the time, a falling office chair arm simply needs to be tightened. This is good news because it’s usually a quick and easy fix. You’ll be surprised how secure it feels afterward!
Accessing the Fasteners: Where to Look
Chair designs vary, but the attachment points for armrests are usually in one of a few common areas. You might need to adjust your chair’s position to get a proper view.
Under the Seat Pan
Many office chair arms attach directly to the underside of the seat. Gently flip your chair on its side or upside down. Often, you’ll see large bolts or screws holding the armrest bracket in place. We recommend using a blanket to protect your floor and the chair’s fabric.
Along the Backrest
For some chairs, particularly those with fixed arms, the armrest might also be secured to the backrest. Look for screws or bolts where the arm meets the back of the chair. You might even find some hidden behind a plastic cover that pops off.
Directly on the Armrest Itself
Sometimes the screws are right there on the arm, hidden under a cap or exposed. These usually secure the armrest pad to the arm’s metal support. These fasteners are often less about structural stability and more about securing the padding.
The Tightening Process: Making it Secure
Once you’ve located the fasteners, the actual tightening is straightforward. Remember, “snug” is good; “Hercules-tight” is not. You don’t want to strip the screws or crack the chair components.
Identify the Right Tool: Select the correct screwdriver or Allen wrench for each fastener. Using the wrong size can strip the screw head, making it much harder to remove or tighten later.
Turn Clockwise: This is the universal direction for tightening. Turn each screw or bolt until it feels firm. Don’t overdo it, especially with plastic parts.
Check All Fasteners: It’s not just the loose one you found. Tighten all the screws and bolts associated with the armrest. Sometimes one loose fastener puts extra strain on the others, making them prone to loosening too.
Test the Arm: After tightening, put your chair back upright and test the arm. Does it still wobble? If so, revisit the fasteners and check if you missed any, or if one is stripping.
Addressing More Persistent Problems
What if tightening the bolts doesn’t fully solve your issue? Don’t despair! Sometimes, the problem runs a little deeper than just a loose screw. We’ve seen these situations often, and there are still solutions.
When Washers Are the Problem
Washers are small but mighty. They distribute pressure and help prevent screws from backing out. Think of them as tiny shock absorbers for your fasteners.
Identifying Worn Washers
If you tighten a bolt and it still feels like it never quite gets snug, a worn washer might be the issue. Remove the problematic bolt and inspect the washer. Is it flattened, cracked, or even missing? A good washer should have a slight give and be intact. Research shows that neglecting washer integrity can lead to repeated loosening (NCBI).
Replacing Damaged Washers
Bring the damaged washer to a hardware store to find a suitable replacement. Match the inner diameter (to fit the screw), the outer diameter (to fit the chair’s recess), and the thickness. Make sure to get strong, durable washers, whether they are metal or nylon, depending on what your chair originally used. Install the new washer and then retighten the bolt as before.
Dealing with Stripped Threads or Holes
This is a trickier problem, but not insurmountable. When a screw spins endlessly without gripping, you likely have stripped threads either on the screw or in the chair material.
Solutions for Stripped Screws
Use a Slightly Larger Screw: This is a common DIY fix. Find a screw with a slightly larger diameter that can bite into the existing, damaged hole. Be careful not to go too large and crack the material.
Thread Repair Kits: For metal parts, a thread repair kit (like a Helicoil) can create new, stronger threads. This is a more advanced solution but offers a very durable repair.
Wood Glue and Toothpicks (for wood/plastic): If the hole is in wood or plastic, you can fill the stripped hole with wood glue and several toothpicks or wooden matchsticks. Let it dry completely, then reinsert the original screw. The glue and wood create new material for the screw to grip. This trick works surprisingly well!
Considering Replacement Parts
Sometimes, a component is simply too damaged to repair effectively. If an armrest column is cracked, or the mounting bracket is bent, a replacement might be your best option. Check the manufacturer’s website or contact their customer service. Many reputable office chair brands offer replacement parts. It saves you from buying a whole new chair!

Final Checks and Ongoing Maintenance
You’ve done the hard work, now let’s ensure your fix lasts. A little preventative care goes a long way in keeping your chair in top shape. Think of it like changing the oil in your car – small effort, big payoff.
Post-Fix Verification
Once you’ve made your repairs, give your chair a thorough test. Sit in it, lean on the armrests, and adjust your posture. Does everything feel solid? Is there any lingering wobble?
Sit and Lean: Apply weight to the armrest. It should feel sturdy and secure.
Adjust Height: If your armrests are adjustable, move them up and down, checking for smooth operation and stability at different heights.
Recheck Fasteners: After a day or two of use, it’s not a bad idea to recheck the tightened fasteners. Sometimes components settle, and a slight retightening might be needed.
A Simple Maintenance Checklist
To prevent future issues, incorporate these quick checks into your routine. Doing this once every few months can save you from future headaches and discomfort.
| Maintenance Task | Frequency | Benefit |
|---|---|---|
| Check armrest fasteners | Every 3-6 months | Prevents wobbling and discomfort |
| Inspect washers | Annually | Ensures screw longevity |
| Clean chair components | Monthly | Removes grime, prevents sticky parts |
| Lubricate moving parts (if applicable) | Annually | Ensures smooth adjustments |
| Test all adjustments | Quarterly | Confirms full functionality |
By following these steps, you’re not just fixing a problem; you’re extending the life of your office chair. And let’s be honest, a comfortable chair makes for a much happier workspace!
Conclusion
You now have the knowledge and steps to tackle that annoying, wobbly office chair arm. Most often, a few turns of a screwdriver or Allen wrench are all it takes to restore comfort and stability. By taking a little time to diagnose the problem and apply the right fix, you save money and extend the life of your chair. Don’t let a loose arm disrupt your focus; give your workspace the stability it deserves.
Frequently Asked Questions
Is it worth fixing an old office chair arm, or should I just buy a new chair?
We generally recommend fixing it first. Most armrest issues are simple to repair and require minimal cost. Only consider a new chair if the frame is broken or multiple components are severely damaged beyond repair.
How can I prevent my office chair arms from loosening again in the future?
Regular maintenance is key. Make it a habit to check and gently tighten all armrest fasteners every three to six months. This quick inspection catches loose screws before they become a major problem.
Can I use super glue or epoxy to fix a stripped screw hole?
While tempting, we do not recommend super glue or epoxy for stripped screw holes, especially on structural components. These glues can be brittle and difficult to remove if you need to access the screw again. Wood glue and toothpicks are a better, reversible method for wood or plastic.
What if my chair arm has height adjustment and keeps slipping down?
This often points to an issue with the internal locking mechanism of the armrest. Look for a tension screw or lever that controls the adjustment. If that doesn’t work, the internal components might be worn, potentially requiring a replacement arm.
Where can I find replacement parts for my specific office chair?
Start by checking the original manufacturer’s website; many offer replacement parts directly. If not, contact their customer service for guidance. You might also find compatible generic parts at specialized office furniture supply stores online.