How to Assemble an Office Chair?
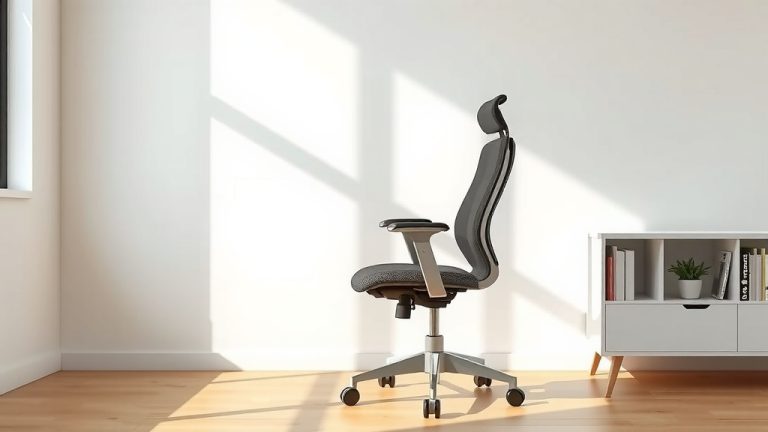
Setting Up Your New Office Chair: A Step-by-Step Guide
Assembling your office chair doesn’t have to be a puzzle. We found that most chairs follow a similar construction path. You’ll typically begin with the base, add the wheels, then the gas lift, and finally connect the seat and backrest. It’s often much easier than you think!
Before You Begin: Preparation is Key
A little preparation goes a long way. Before you even open the box, take a moment to set yourself up for success. This will make the entire process smoother and faster.
Gather Your Supplies
First things first, make sure you have everything you need. What’s in the box? What tools will you use?
- Office Chair Box: This might seem obvious, but open it carefully.
- Instruction Manual: This is your bible for assembly.
- All Chair Components: Lay them out and check against the parts list.
- Included Tools: Most chairs come with an Allen wrench.
- Optional Tools: A Philips head screwdriver might be useful for some models.
- Clear Workspace: A flat, open area is ideal.
Unbox and Inventory Your Parts
Once you open the box, don’t just dive in. We recommend taking everything out and laying it on a clean surface. This helps you identify all the pieces. Match them against the parts list in your manual. Are any pieces missing? Is anything damaged? It’s better to find out now than halfway through assembly (Consumer Reports).
Here’s a quick checklist of common office chair components:
- Chair base (usually a five-star shape)
- Casters (wheels)
- Gas lift cylinder
- Seat cushion
- Backrest
- Armrests (if applicable)
- Mechanism plate (connects seat to gas lift)
- Hardware (screws, washers, bolts)
- Allen wrench (often included)
The Assembly Process: Building Your Chair from the Ground Up
Now that you’re prepared, it’s time to build! We found it’s best to follow the manufacturer’s instructions exactly. Think of it like building with LEGOs; each step builds on the last.
Step 1: Assembling the Chair Base and Casters
This is usually the very first step. You’ll want to get your chair on a stable foundation. It’s typically the easiest part, so it’s a good way to start building confidence.
Take your five-star chair base. It’s the large, usually plastic or metal, piece that sits on the floor. Now, grab your casters, or wheels. Simply push them firmly into the holes at the end of each leg of the base. You might hear a “click” as they secure into place. Sometimes, a little wiggling helps. Ensure all wheels are snug and spin freely.
Step 2: Inserting the Gas Lift Cylinder
The gas lift is what allows your chair to go up and down. It’s a simple, straightforward step. Think of it as the chair’s “spine.”
Place the chair base upright on the floor. Take the larger end of the gas lift cylinder and insert it into the central hole of the assembled chair base. There’s no need to screw it in; gravity and the weight of the chair will hold it in place. Make sure it’s sitting straight and fully seated in the base.
Step 3: Attaching the Mechanism Plate to the Seat
The mechanism plate is the metal piece that typically has levers and knobs. This is what connects your seat to the gas lift and allows for tilt functions. It’s important to orient this correctly.
Turn your seat cushion upside down. Locate the screw holes on the underside. Now, align the mechanism plate with these holes. Pay close attention to the “FRONT” arrow or indicator on the mechanism plate; it should point towards the front of the seat. Secure it with the provided screws, usually using your Allen wrench. Tighten them firmly but don’t overtighten, as you could strip the screws.
Step 4: Connecting the Seat to the Gas Lift
Now you’ll bring two major sections together. It’s a quick connection that makes your chair start looking like a chair.
Carefully pick up the assembled seat and mechanism plate. Align the central hole of the mechanism plate with the top of the gas lift cylinder. Gently lower the seat onto the gas lift. The weight of the seat will usually create a secure connection. You may want to sit on it briefly once assembled to further seat it. This connection is designed to be strong and stable (Workplace Safety & Health Council).
Step 5: Attaching the Backrest and Armrests
The final structural pieces! This is where your chair truly takes shape. You might attach the backrest first, then the armrests, or sometimes both simultaneously.
Backrest Attachment
Locate the mounting plates or holes on the back of your seat or the sides of the mechanism. Align the backrest with these points. You’ll typically use screws to attach the backrest. Many chairs have an upright L-shaped bracket that connects the backrest to the seat mechanism. Secure all screws evenly. If there are plastic covers for the screws, put them on now for a cleaner look.
Armrest Attachment (If Applicable)
If your chair has armrests, they usually attach to the sides of the seat or to the backrest brackets. Identify which armrest goes on which side (left/right). Align the armrests with their designated screw holes and secure them with the provided hardware. Often, the armrests help stabilize the backrest, so they are a crucial connection. Don’t forget to tighten all screws once they’re in place.
Step 6: Final Checks and Adjustments
You’re almost there! Before you sit down and enjoy your new chair, take a moment for a final review. This ensures safety and comfort.
Once everything is assembled, give all visible screws a final, gentle tighten. Check for any wobbles. Sit in the chair and test all its functions: height adjustment, tilt, and any lumbar support or armrest adjustments. Does it feel stable? Does it move smoothly? Make sure nothing feels loose or insecure. Your comfort and safety are important, so don’t skip this step!
Congratulations! You’ve successfully assembled your office chair. Now you can enjoy a comfortable and productive workspace.

Conclusion
You’ve seen that putting together your new office chair is often a straightforward process. By taking a few moments to prepare, laying out your parts, and following the instructions, you can have your chair ready in no time. We found that most chairs share similar assembly steps, making the task less intimidating than it seems.
Remember to double-check all connections for stability and test the adjustments for your comfort. Now, go ahead and personalize your workspace with your perfectly assembled chair and enjoy a more comfortable workday!
Frequently Asked Questions
What if my chair is wobbly after assembly?
If your chair feels wobbly, first check all screws, especially those connecting the backrest and armrests to the seat. Make sure they are tightened securely, but don’t overtighten them. Sometimes, sitting on the chair firmly can help seat the gas lift fully into the base.
Can I assemble an office chair by myself?
Absolutely! Most office chairs are designed for single-person assembly. We found that having a clear, flat workspace makes the process much easier. While some larger chairs might be slightly less awkward with an extra pair of hands, it’s generally not necessary.
What tools do I need to assemble an office chair?
Typically, the only tool you’ll need is an Allen wrench, which usually comes included in the box. Occasionally, a Phillips head screwdriver might be required for certain models, but this is less common. Always check your specific instruction manual.
How do I know if the gas lift is installed correctly?
The gas lift cylinder should simply drop into the central hole of the chair base and sit firmly. When you attach the seat, it should slide over the top of the gas lift. You’ll know it’s correct if the chair can adjust up and down when you sit on it and operate the lever.
How long does it typically take to assemble an office chair?
Most office chairs can be assembled in 15 to 30 minutes. This time can vary depending on the complexity of the chair and how familiar you are with assembly. Taking your time with the instructions usually leads to a quicker, frustration-free build.