How to Remove Stains from Office Chair?
The easiest way to remove stains from your office chair is by identifying the stain type and
Cleaning Up Office Chair Stains the Smart Way
Okay, so your office chair has a stain. Don’t worry, you’re not alone! These things happen. The trick is to tackle the stain correctly, depending on what caused it and what your chair is made of.
Jumping in with the wrong cleaner can make things worse. We’re here to help you navigate this.
First Things First: Identify Your Chair’s Material
Before you even think about cleaning, you need to know what you’re working with. Different materials react differently to cleaners.
This step is super important for avoiding damage to your chair. Let’s break it down.
Decoding Your Fabric Label
Most chairs have a small tag, usually under the seat. This tag isn’t just for show; it’s your cleaning guide.
Look for these codes:
- W: You can use a water-based cleaner. This is often the easiest to clean.
- S: Only solvent-based cleaners should be used. Water can stain this material.
- WS or SW: You’re in luck! Both water-based and solvent-based cleaners are safe here.
- X: This is the tricky one. Only vacuum or professional cleaning is recommended. Don’t use any liquids.
If you can’t find a tag, don’t panic. You’ll need to test in an inconspicuous area first.
Common Office Chair Materials and Their Quirks
What if there’s no tag, or it’s worn off? You’ll have to identify the material by sight and touch.
Here are some common types you might encounter:
- Mesh: Often made of synthetic fibers. Generally durable and allows for good airflow.
- Fabric (Upholstered): This can be anything from cotton blends to polyester. It’s often absorbent.
- Leather/Bonded Leather: Has a distinct feel and look. Requires specialized, gentle care.
- Vinyl/Pleather: A synthetic material designed to mimic leather. Usually quite resistant to stains.
Knowing your material helps you choose the right cleaning strategy. It’s like being a detective for dirt!
General Principles for Stain Removal Success
Regardless of the stain or the chair material, some rules always apply. Following these steps will increase your chances of success and prevent further damage.
Think of these as the golden rules of chair cleaning.
Act Fast: The Early Bird Gets the Stain
The moment you notice a stain, try to address it. Fresh stains are always easier to remove.
Dried-on stains are notoriously stubborn. They have had time to set into the fibers.
Don’t put it off until later; every minute counts!
Always Test in a Hidden Area First
This cannot be stressed enough. Before applying any cleaning solution to the visible stain, find a small, hidden spot on the chair.
Apply a tiny amount of your chosen cleaner there. Wait a few minutes. Does it cause discoloration? Does it damage the fabric?
If not, you’re good to go. If it does, you need a different approach.
Blot, Don’t Rub: The Gentle Approach
When cleaning a stain, especially a liquid one, always blot. Use a clean white cloth or paper towel.
Rubbing can spread the stain, push it deeper into the fabric, and even damage the material.
Gentle blotting lifts the stain out, rather than embedding it further.
Less is More: Don’t Over-Saturate
Applying too much liquid cleaner can be detrimental. It can soak through the fabric to the padding underneath.
This can lead to mildew, odors, or even a new water stain. Use just enough cleaner to dampen the stained area.
You want to clean the stain, not drown the chair.
Targeting Specific Stain Types
Now that you know your chair material and the basic rules, let’s talk about common culprits.
Different stains require different tactics. It’s like having a specialized tool for each job.
The Ubiquitous Coffee and Tea Spills
Ah, the classic office mishap! Coffee and tea stains are common and can be a bit tricky if not handled quickly.
Here’s how to fight back:
- For fresh spills: Blot up as much liquid as possible with a clean, dry cloth.
- For water-safe fabrics (W, WS): Mix a small amount of liquid dish soap with cool water. Dampen a clean cloth with this solution and gently blot the stain. Rinse the cloth and blot again with clean water to remove soap residue.
- For dry stains on water-safe fabrics: You might need a slightly stronger solution, like a mix of white vinegar and water (1:1 ratio). Test first!
- For S-coded fabrics: You’ll need a dry cleaning solvent. Follow the product instructions carefully.
Remember to let the area air dry completely. Using a fan can speed up the process.
Grease and Oil: The Slippery Adversaries
Whether it’s from lunch or a mechanical mishap, grease and oil stains are distinct.
They require something to break down the oil:
- For fresh grease stains: Sprinkle cornstarch, baking soda, or talcum powder over the stain. Let it sit for at least 15-30 minutes to absorb the oil.
- Remove the powder: Gently brush or vacuum up the powder.
- For water-safe fabrics (W, WS): Apply a small amount of dish soap directly to the stain. Gently work it in with your finger. Let it sit for a few minutes. Then, blot with a damp cloth, rinsing the cloth frequently.
- For S-coded fabrics: A dry cleaning solvent is your best bet for these kinds of stains.
You might need to repeat this process a few times for stubborn grease marks.
Ink and Pen Marks: The Office Artist’s Legacy
Ink can be one of the toughest stains. It depends on the type of ink (ballpoint, permanent marker) and the fabric.
Here’s a general approach:
- For water-safe fabrics (W, WS): Try rubbing alcohol on a clean white cloth. Blot the stain from the outside in to prevent spreading. Change cloths frequently as the ink transfers.
- For S-coded fabrics: A dry cleaning solvent or a specialized ink remover for upholstery is necessary.
- Hair spray often works for ballpoint ink on many fabrics. Spray a small amount on a cloth and blot the stain.
Always remember to test these solutions first. Ink can be really tricky, so patience is key.
Mystery Stains: When You Don’t Know What Hit You
Sometimes, a stain just appears, and you have no idea what it is. In these cases, a general approach is best.
We found that starting with the mildest solution and working your way up is effective (Cleveland Clinic).
The General Stain Removal Checklist
Use this as your step-by-step guide for unknown stains:
- Vacuum: Gently vacuum the area to remove any loose particles.
- Damp Cloth: Blot with a clean, white cloth dampened with plain cool water.
- Mild Soap Solution: If water doesn’t work, try a few drops of dish soap in water. Blot.
- Vinegar Solution: For tougher stains, a 1:1 white vinegar and water solution can be effective. Blot.
- Rubbing Alcohol: If it seems like a greasy or ink-based stain, try rubbing alcohol (for W, WS, and S fabrics, test first!).
- Rinse and Dry: Always blot with a clean, water-dampened cloth to remove residue, then air dry.
This systematic approach helps ensure you don’t use too harsh a chemical right off the bat.
Special Considerations for Leather and Vinyl Chairs
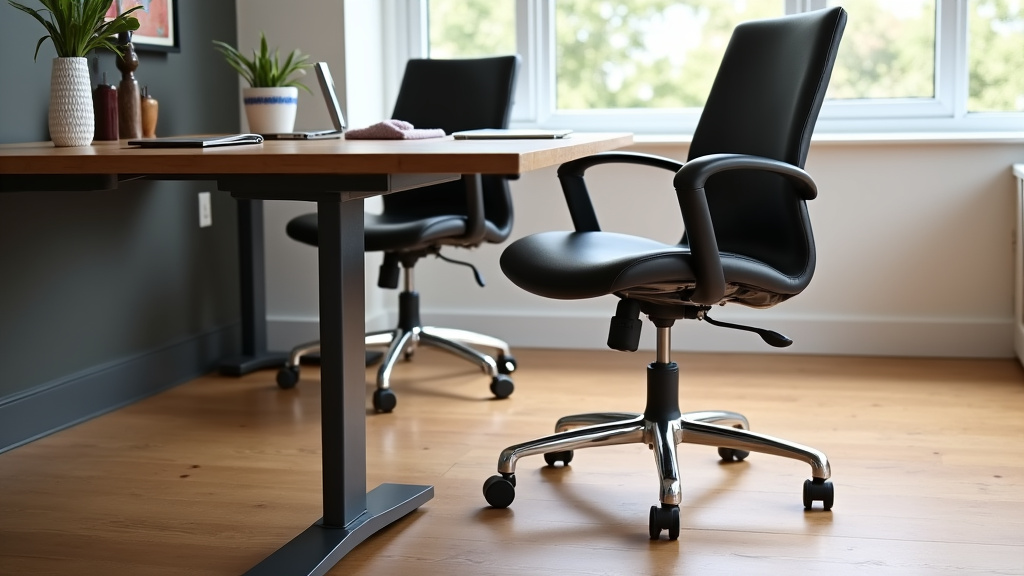
Leather and vinyl are durable, but they need different care than fabric. Water can be an issue for some leathers.
Never use harsh chemicals like ammonia, bleach, or abrasive cleaners on these materials.
Cleaning Leather Office Chairs
Leather is a natural material and needs specific products to maintain its look and feel.
Here’s what to do:
- For light dirt/dust: Wipe with a soft, slightly damp cloth.
- For water-based stains: Quickly blot with a clean cloth. For tougher spots, a mild soap (like saddle soap or a specialized leather cleaner) can be used. Apply to a cloth, not directly to the leather.
- For oil/grease stains: Blot immediately. Then, sprinkle cornstarch or talcum powder. Let it sit for several hours or overnight to absorb the oil. Gently brush off.
- Condition: After cleaning, always use a good quality leather conditioner to keep the leather supple and prevent cracking.
Regular conditioning is key to prolonging the life of your leather chair.
Cleaning Vinyl and Pleather Office Chairs
These synthetic materials are generally more forgiving than real leather.
They are often resistant to many common stains:
- For most stains: Wipe with a soft cloth dampened with a mild soap and water solution.
- For tougher marks: Isopropyl alcohol can be used cautiously on a clean cloth for ink or scuff marks. Always test first, as some vinyls can react.
- Avoid: Never use abrasive cleaners, harsh solvents, or stiff brushes, as these can damage the surface.
Vinyl is quite robust, but gentle care ensures it lasts longer without cracking or peeling.
| Stain Type | Fabric (W/WS Code) | Fabric (S Code) | Leather/Vinyl |
|---|---|---|---|
| Coffee/Tea | Dish soap & water, blot. | Dry cleaning solvent. | Damp cloth, leather cleaner. |
| Grease/Oil | Cornstarch, then dish soap. | Dry cleaning solvent. | Cornstarch, then mild soap. |
| Ink/Pen | Rubbing alcohol/Hair spray. | Specialized ink remover. | Rubbing alcohol (test first). |
| General Dirt | Mild soap & water. | Vacuum only, professional. | Mild soap & water. |
Conclusion
You now have the knowledge to confidently tackle those unwelcome office chair stains. By first identifying your chair’s material and the stain type, you can choose the most effective and safest cleaning method. Remember, quick action and testing in a hidden area are your best allies in preventing damage and ensuring a spotless finish.
Keeping your office chair clean not only improves its appearance but also extends its lifespan. So, go ahead and restore your workspace to its former glory. A clean chair means a more comfortable and productive you!
Frequently Asked Questions
How often should I clean my office chair to prevent stains?
For general maintenance, you should lightly clean your office chair at least once a month. This includes vacuuming and wiping down surfaces. For deeper cleaning, aim for every 3-6 months, or immediately after a spill.
Can I use a steam cleaner on my office chair?
It depends on your chair’s material. Steam cleaners can be excellent for W and WS coded fabrics, but they should never be used on S-coded fabrics, leather, or some types of vinyl. Always check the manufacturer’s recommendations or test on an inconspicuous spot first.
What if my chair has a really old, set-in stain?
Old, set-in stains are much harder to remove, but not impossible. You may need to repeat your chosen cleaning method several times, allowing the area to dry between attempts. For very stubborn stains, we found that professional upholstery cleaning might be your best option.
Are there any stain preventatives I can use on my office chair?
Yes, for fabric chairs, you can use fabric protector sprays that create a barrier against spills. For leather chairs, regular conditioning helps them resist stains and maintain their natural oils. Always test any protector in a hidden area first.
Will cleaning solutions damage the color of my office chair?
Some cleaning solutions can indeed cause discoloration or fading, especially on darker fabrics or certain dyes. This is precisely why testing on an inconspicuous area is so important. If you notice any color transfer or fading during the test, do not use that solution on the main stain.