How to Oil Office Chair Hinges?
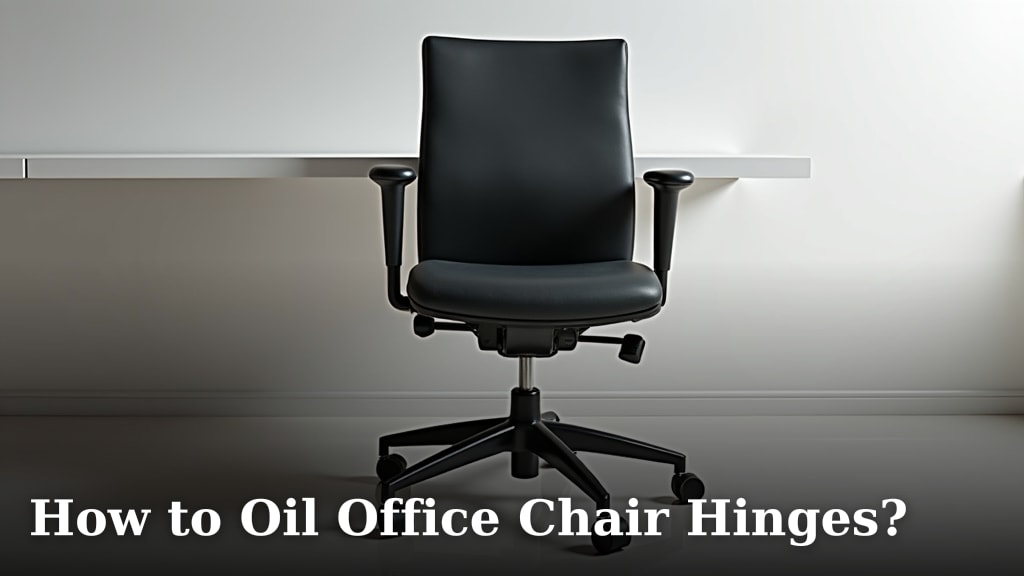
To oil office chair hinges, you should first clean the area thoroughly. Then, apply a silicone-based lubricant or white lithium grease directly to the hinge points. Work the chair’s movement to help the lubricant penetrate.
A squeaky office chair can be very annoying, right? You deserve a workspace free from distracting noises. Keeping your chair hinges well-oiled extends its life and provides a much quieter experience. Regular maintenance is key for comfort and function.
- Clean hinges first.
- Use silicone spray or lithium grease.
- Lubricate all moving hinge parts.
- Move the chair to spread the oil.
- Wipe away any excess.
Let’s make that annoying squeak a thing of the past. We’ll show you exactly how to quiet those noisy hinges, step by simple step.
Silencing Office Chair Squeaks: A Step-by-Step Guide
You’re ready to tackle that annoying squeak! This guide will walk you through the process of oiling your office chair hinges, ensuring a smoother, quieter experience. We’ll cover everything from preparation to proper lubrication.
Understanding Your Chair’s Moving Parts
Before you grab that lubricant, it’s good to know where your chair might be squeaking. Office chairs have several moving parts, and hinges are just one culprit. However, focusing on hinges is a great place to start, as they are a common source of noise.
Where Are the Hinges?
Most office chairs aren’t built like door hinges, but they have pivot points that function similarly. Look for the mechanisms that allow your chair to recline, tilt, or adjust height. These are often where two metal parts rub together. Common spots include the tilt mechanism under the seat, the connection between the backrest and the seat, and sometimes even the armrest pivots if they are adjustable.
We found that identifying these points visually helps a lot. Gently recline or tilt your chair while watching closely. Can you pinpoint where the sound originates? This observation can save you time and lubricant.
Gathering Your Office Chair Oiling Tools
Having the right tools makes this job much easier. You don’t need a whole workshop, just a few key items. Think of it like preparing for a mini home repair project.
What You’ll Need
- Silicone-based spray lubricant or white lithium grease. These are excellent choices because they won’t damage plastics or fabrics, and they provide lasting lubrication.
- Clean cloths or paper towels. These are essential for cleaning and wiping up excess.
- A soft brush or old toothbrush. Great for scrubbing away grime from tight spots.
- Rubber gloves (optional, but recommended). Keep your hands clean!
- Flashlight (optional). Handy for seeing into dark, tricky areas under the chair.
- Newspaper or a drop cloth. Protect your floor from any drips.
Many experts suggest using lubricants specifically designed for moving parts, avoiding products like WD-40 which are primarily penetrating oils and can dry out quickly, potentially causing more squeaks down the road (Consumer Reports).
Preparing Your Work Area and Chair
Preparation is key for a successful, mess-free job. You wouldn’t paint a wall without covering the floor, right? This is similar, but on a smaller scale.
Clear and Protect Your Space
Find a good spot where you have plenty of light and room to work around the chair. Lay down some newspaper or a drop cloth to catch any lubricant drips. You don’t want to stain your carpet or flooring.
Cleaning the Squeaky Spots
This is a critical step that many people skip! Oiling over dirt and grime is like putting a bandage over an unclean wound; it just doesn’t work as well. Use your clean cloth and soft brush to thoroughly clean the hinge areas. Dust, hair, and old dried lubricant can build up and cause friction. Get into all those nooks and crannies.
A little elbow grease here pays off. Make sure the surfaces are as clean as possible before applying any lubricant. This ensures the lubricant can do its job effectively, directly coating the metal surfaces.
Applying the Lubricant Correctly
Now for the main event: applying the lubricant. This isn’t a “more is better” situation. A little goes a long way, especially with sprays.
Using Silicone Spray Lubricant
If you’ve chosen a silicone spray, aim the nozzle directly at the hinge points. You want to get the spray into the gaps where metal parts rub together. Give it a short burst, just a second or two. Don’t over-spray! Excessive spray can drip and make a mess. For hard-to-reach areas, some sprays come with a thin straw attachment that helps you target precisely.
After applying, immediately grab one of your clean cloths and wipe away any excess that might have dripped onto plastic, fabric, or other non-hinge parts. You want the lubricant only where it’s needed.
Applying White Lithium Grease
White lithium grease often comes in a tube or a small tub. You can apply it with a gloved finger, a small brush, or even a cotton swab. The goal is to create a thin, even layer on the metal contact points. Push a small amount directly into the friction points. It’s thicker than spray, so it’s less prone to dripping, but you still need to be careful.
Remember, a thin coating is enough to reduce friction and silence the squeak. It’s like putting a very thin layer of butter on toast, just enough to make it smooth. Wipe away any excess grease with a clean cloth.
Working the Lubricant In and Testing
Applying the lubricant is only half the battle. You need to help it settle into all the right places.
Move and Adjust the Chair
This is crucial! After applying the lubricant, sit in your chair and operate all its functions. Recline it fully, tilt it forward and back, adjust the height, and even swivel it around. Do this several times. This movement helps the lubricant spread and work its way deep into the hinge mechanisms. Think of it as massaging the lubricant into the chair’s joints.
Listen for Squeaks
While you’re moving the chair, listen intently. Has the squeak disappeared? Sometimes, one application is enough. If you still hear a faint squeak, try to pinpoint its exact location again. You might have missed a spot, or it might need a tiny bit more lubricant. Don’t be afraid to repeat the application process on stubborn spots, but always remember to wipe away excess.
We found that testing all the movements thoroughly ensures you haven’t just quieted one squeak, but all potential ones. It’s a comprehensive check.
Maintaining Your Office Chair for Longevity
Oiling your hinges is great for immediate relief, but what about keeping your chair quiet for the long haul? A little regular care can make a big difference.
Regular Cleaning and Inspection
Don’t wait for a squeak to appear before taking action. Make it a habit to occasionally wipe down your chair’s moving parts. Look for any debris, hair, or dust buildup. A quick wipe with a damp cloth can prevent a lot of problems. It’s like giving your car a regular wash to keep it looking good and performing well.
When to Re-Lubricate
How often should you oil? This depends on how much you use your chair and the environment it’s in. A chair used heavily in a dusty environment might need attention every few months. A lightly used chair in a clean office might only need it once a year. The best indicator is the return of that familiar squeak. As soon as you hear it, it’s a gentle reminder that it’s time for another quick lubrication session. Many furniture care guides recommend lubrication at least once every six months for high-use items (Furniture Manufacturers Association).
Troubleshooting Persistent Squeaks
What if the squeak just won’t go away? Sometimes, it’s not the hinges, or the problem is a bit more complex. Don’t despair!
Tightening Loose Screws
A very common cause of squeaks is simply a loose screw. Grab a screwdriver and check all the visible screws on your chair. Gently tighten them. Don’t overtighten, as you could strip the screws or damage the chair frame. Loose connections often cause parts to rub incorrectly, leading to noise. It’s a simple fix that often works wonders.
Checking for Worn Parts
If lubricating and tightening don’t work, inspect your chair for any visibly worn or damaged parts. Sometimes, a plastic washer might be cracked, or a metal component might be bent. In these cases, lubricating won’t solve the underlying issue. You might need to contact the manufacturer for replacement parts or consider if it’s time for a new chair if the damage is extensive.
A Quick Checklist for Quieting Your Chair
- Did you clean the squeaky area thoroughly first?
- Did you use the correct type of lubricant (silicone or lithium grease)?
- Did you apply enough lubricant directly to the friction points?
- Did you move the chair extensively to work the lubricant in?
- Have you checked and tightened all accessible screws?
By following these steps, you’ll likely transform your noisy office chair into a smooth, silent partner in your workday. Enjoy the peace and quiet!

Conclusion
You now have all the tools and knowledge to silence that annoying office chair squeak. By following our steps—cleaning thoroughly, using the right lubricant, and working it into the mechanisms—you can restore peace to your workspace. Remember, a little maintenance goes a long way in preserving your chair’s comfort and function.
Don’t let a squeak distract you. Take action today to enjoy a quieter, more pleasant work environment!
Frequently Asked Questions
How often should I oil my office chair hinges?
It depends on usage. For heavily used chairs, consider lubricating every few months. For lighter use, once or twice a year is usually sufficient. The best indicator is when you start hearing those familiar squeaks return.
Can I use WD-40 to lubricate my office chair?
We recommend against using WD-40 for long-term lubrication. While it might offer temporary relief, it’s primarily a penetrating oil that can dry out over time. This might cause the squeak to return quickly or even worsen. Stick to silicone-based sprays or white lithium grease.
What if my chair still squeaks after oiling?
If the squeak persists, check for loose screws and tighten them carefully. If that doesn’t work, inspect the chair for worn or broken parts like cracked washers or bent components. Sometimes, the issue might be beyond simple lubrication.
Will oiling my chair make it messy or stain my clothes?
If applied correctly and sparingly, your chair shouldn’t be messy. Always wipe away any excess lubricant immediately after application. Using a drop cloth during the process also helps protect your flooring from drips. A thin layer is all you need.
Are there any parts of my office chair I should avoid oiling?
Avoid getting lubricant on fabric, mesh, or porous surfaces, as it can stain. Focus your application only on metal-on-metal contact points and hinge mechanisms. Also, avoid spraying electrical components if your chair has any powered adjustments.